Introduction
Checking water leaks is an important part of maintaining a home’s plumbing system, especially when water bills increase unexpectedly or moisture begins appearing around fixtures. Some leaks are easy to recognize because water drips continuously from a faucet or collects beneath a sink. Others develop gradually, allowing water to escape without producing obvious symptoms until surrounding materials begin showing signs of deterioration.
For homeowners, checking water leaks begins with understanding where water is being used and whether that consumption is normal. A municipal water meter can reveal unexpected water movement, while a toilet dye test can expose silent leakage inside the tank. Examining accessible faucet connections, shower fittings, and moisture-prone areas provides additional information without requiring specialized equipment or unnecessary plumbing disassembly.
The EPA WaterSense Fix a Leak Week program encourages homeowners to monitor water consumption, test toilets for silent leaks, and inspect faucets and plumbing connections. These recommendations demonstrate why checking water leaks periodically can be worthwhile even when a household has not experienced an obvious plumbing emergency.
For homeowners in Clovis, Fresno, and surrounding communities, the following six methods provide practical ways to identify possible problems. Each focuses on a different warning sign or inspection technique, helping distinguish ordinary water use from conditions requiring additional attention. Although checking water leaks can help narrow down potential sources, these methods cannot always determine the exact location or cause of a concealed plumbing problem.
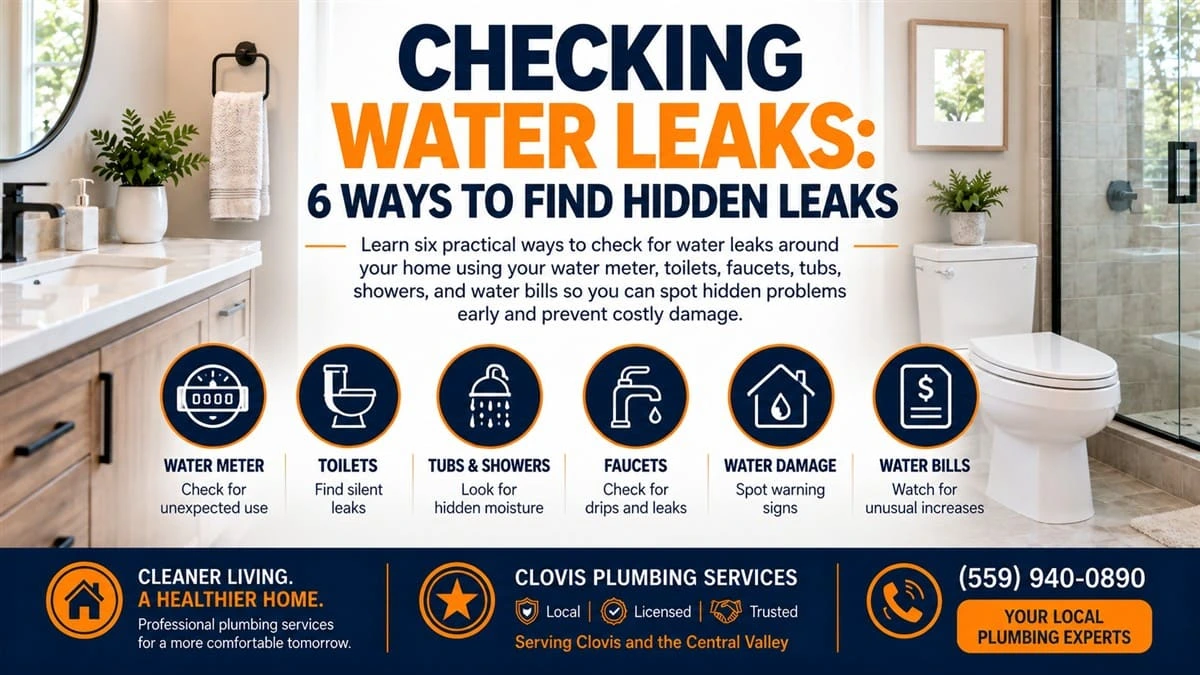
Table of Contents
Checking Water Leaks Using Your Water Meter
One of the most useful methods for checking water leaks involves observing your residential water meter during a period when no water should be consumed. The meter measures water passing through the metered service connection, so unexpected movement can indicate possible water loss somewhere within the system.
Before beginning, turn off faucets, showers, irrigation equipment, and appliances that consume water. Make sure washing machines and dishwashers are not operating, and confirm that automatic irrigation or water-treatment equipment will not activate during the test. Checking water leaks with a meter is most effective when all intentional consumption has been eliminated.
Locate the meter, which is commonly installed in a utility box near the street or sidewalk. Depending on its design, the meter may display numerical readings, a small flow indicator, or an electronic symbol showing water movement. Observe the display without disturbing utility-owned equipment or forcing access to a locked enclosure.
Record the initial reading and avoid using water for approximately two hours. Check the meter again after the waiting period. If the reading has increased, water may have been consumed somewhere within the metered system. Checking water leaks this way provides evidence of unexpected consumption, although it does not automatically identify a plumbing defect.
An overlooked appliance, irrigation controller, or other automatic device may explain the change. If unexpected consumption continues after these possibilities have been eliminated, record your observations for further investigation. Checking water leaks through meter readings can help establish that water is moving, but identifying the affected fixture or piping location may require additional evaluation.
Checking Water Leaks in Toilets
Toilets are common sources of unnoticed water consumption because water can pass from the tank into the bowl without leaving puddles on the bathroom floor. Checking water leaks in toilets is particularly important when a fixture refills unexpectedly or appears to run intermittently despite not being flushed.
When a flapper or flush-valve seal deteriorates, water may escape continuously from the tank into the bowl. The fill valve may periodically activate to replace the lost water, although some leaks remain nearly silent. These conditions can continue for extended periods before homeowners recognize the increased consumption.
A simple food-coloring test is useful when checking water leaks inside a toilet tank. Carefully remove the tank lid, add several drops of food coloring to the tank water, and wait 20 to 30 minutes without flushing. If the coloring appears in the bowl, water is passing from the tank into the bowl when it should remain contained.
Flush promptly after completing the test to reduce the possibility of staining. A positive result suggests that an internal component may not be sealing properly, although further inspection may be necessary to identify the responsible part.
Checking water leaks around toilets should also include examining the accessible supply connector, shutoff valve, and floor surrounding the fixture. Moisture outside the toilet represents a different concern from internal tank leakage, making the location and timing of the water important when determining what needs attention.
Checking Water Leaks Around Tubs and Showers
Bathrooms contain several plumbing connections and surrounding surfaces where water can escape. Checking water leaks around tubs and showers requires observing when moisture appears, where it collects, and whether the condition occurs during water delivery, drainage, or normal bathing activities.
Begin by inspecting visible surfaces for recurring dampness, deteriorating caulking, loose trim, peeling paint, or staining around the enclosure. Pay particular attention to moisture that remains after the bathroom should have dried, especially around baseboards, adjacent flooring, and walls near the shower.
Checking water leaks while the fixture operates can provide additional clues. Moisture appearing around a showerhead connection may indicate a different condition than water collecting near the base of the enclosure. Likewise, dampness associated with draining may involve components that are not under constant water pressure.
A leaking connection where the shower arm enters the wall may produce visible dripping or moisture around the escutcheon. Our guide to identifying a shower arm leak explains warning signs associated with this particular bathroom plumbing component.
When checking water leaks in bathing areas, avoid assuming that every wet wall or damaged surface indicates a leaking supply pipe. Water can also escape through enclosure joints, drain connections, and other building components. Understanding when the moisture develops helps narrow the possibilities before additional investigation begins.
Checking Water Leaks at Faucets and Under-Sink Connections
Kitchen and bathroom faucets are convenient starting points for checking water leaks because many components are visible or accessible without removing plumbing fixtures. Although a dripping spout is an obvious warning sign, moisture beneath the sink or around the faucet base may indicate a problem that develops gradually.
Begin by turning the faucet off completely and observing whether water continues dripping from the spout. Examine the faucet base and surrounding countertop for moisture that returns after the area has been dried. Water splashed during ordinary use should not be mistaken for a plumbing leak without additional observation.
Checking water leaks beneath sinks involves examining accessible supply connectors, shutoff valves, and drain fittings. Open the cabinet and use a flashlight to look for droplets, corrosion, mineral deposits, cabinet staining, or swelling that may indicate repeated exposure to moisture.
If the connections appear dry, operate the faucet while observing the accessible components. Allow water to drain and inspect again because certain leaks become noticeable only when a fixture is operating or when wastewater passes through the drain assembly.
Checking water leaks at different stages of faucet operation helps distinguish possible supply-side concerns from drain-related moisture. When inspections reveal persistent dripping, leaking connections, or water that repeatedly returns, professional Plumbing Leak Repair may be necessary to identify the affected components and determine an appropriate solution.
Avoid tightening connections indiscriminately or disturbing deteriorated fittings while the system remains pressurized. The purpose of checking water leaks at accessible fixtures is to recognize warning signs and gather useful observations, not to create additional damage through unnecessary disassembly.
Checking Water Leaks Behind Walls and Ceilings
Some household plumbing problems remain concealed until water reaches a visible surface. Checking water leaks behind walls and ceilings involves recognizing moisture patterns, monitoring changes in building materials, and considering which plumbing fixtures may be operating near the affected area.
Water can travel along piping, framing, drywall, and other materials before appearing on a ceiling, wall, or floor. As a result, the visible stain may be several feet from the original source. This movement makes careful observation particularly important when checking water leaks in finished living spaces.
Common warning signs include yellow or brown ceiling stains, bubbling paint, soft drywall, damp flooring, and recurring musty odors. Homeowners should observe whether these conditions become more noticeable after someone uses an upstairs bathroom, operates a washing machine, or runs another plumbing fixture.
Checking water leaks around a ceiling stain requires considering more than the plumbing directly above the discoloration. A leaking drain, supply connection, or shower enclosure may be responsible, but similar damage can originate from roofing or other building-envelope conditions.
Our article about repairing ceiling leaks explains why identifying the moisture source is important before repainting or repairing the visible damage.
If water is actively entering a room, a ceiling is sagging, or moisture appears near electrical equipment, avoid disturbing the affected materials and arrange appropriate professional assistance. Checking water leaks should never involve entering unsafe spaces or opening damaged surfaces without understanding the associated risks.
Checking Water Leaks Through Water Bills and Routine Inspections
Changes in household water consumption can reveal possible plumbing problems even when no visible dripping or moisture is present. Checking water leaks through utility records involves comparing actual water usage over several billing periods and identifying increases that cannot be explained by ordinary household activities.
When reviewing water bills, focus on the volume consumed rather than relying only on the total dollar amount. Utility rates, billing periods, irrigation schedules, seasonal activities, and changes in occupancy can affect charges. An unexplained increase in consumption, however, may justify additional investigation.
Checking water leaks through routine inspections provides another opportunity to identify developing problems. Periodically examine exposed plumbing connections, toilet supply lines, laundry hookups, and accessible outdoor faucets for moisture, corrosion, mineral deposits, or other changes. Areas where previous leaks have occurred deserve particular attention when symptoms return.
Homeowners should also become familiar with their water shutoff arrangements before an active leak develops. Our water shut off guide explains common residential shutoff locations and considerations involved when the water supply needs to be isolated.
Combining utility records with occasional meter testing and fixture inspections provides a more complete understanding of household water consumption. Checking water leaks regularly can help homeowners recognize changes earlier and provide useful information when additional plumbing evaluation becomes necessary.
For homeowners interested in learning more about our local plumbing work, the Clovis Plumbing Services Google Business Profile includes customer feedback and examples of completed projects throughout the service area.
Conclusion: Checking Water Leaks Before Problems Get Worse
Checking water leaks through simple household inspections can help homeowners recognize unexpected consumption, dripping fixtures, silent toilet leaks, and moisture that might otherwise remain unnoticed. Water-meter observations, toilet dye tests, and inspections of accessible plumbing connections provide practical starting points without requiring complicated equipment or unnecessary disassembly.
The most effective approach combines checking water leaks periodically with prompt attention to unusual conditions. When water consumption cannot be explained, moisture continues returning, or fixtures repeatedly develop problems, documenting those symptoms can help narrow the possible causes and support a more effective professional evaluation.
Frequently Asked Questions
How can I check for water leaks when nothing is visibly dripping?
Turn off faucets, irrigation, and water-using appliances, then observe the water meter during a period when no water should be consumed. Record the reading and check it again after approximately two hours. An increase may indicate unexpected water use, but additional investigation is needed to determine the source.
Can a toilet leak without making any noise?
Yes. Water can pass from the toilet tank into the bowl through a worn flapper or flush-valve seal without producing an obvious sound. Adding a few drops of food coloring to the tank and waiting 20 to 30 minutes without flushing can help reveal this type of leakage.
Does a moving water meter always mean there is a plumbing leak?
No. Meter movement indicates water consumption, which may result from a plumbing leak, irrigation equipment, an automatic appliance, or another active water-using device. Confirm that all intentional water use has stopped before interpreting the meter reading as evidence of a possible leak.
Why does a ceiling stain appear even when the plumbing above it looks dry?
Water can travel along framing, piping, and building materials before becoming visible on a ceiling. The source may involve a concealed plumbing connection, a drain, a shower enclosure, or an unrelated building condition. The visible stain does not necessarily identify the location where water first entered the structure.
How often should homeowners check for water leaks?
Homeowners can inspect accessible fixture connections and moisture-prone areas periodically, particularly when cleaning beneath sinks or maintaining bathrooms and laundry areas. Additional checks are appropriate when water bills increase unexpectedly, fixtures begin operating differently, or staining and dampness appear.